
Micro greens can be grown at home with a compostable tray. The soil can be covered with another tray and left to set for a few weeks. The leaves can be removed and replanted or composted. If the plant is a weed, just pick the straggler seeds and plant them in new soil. You can then add the fresh micro greens to salads and other dishes.
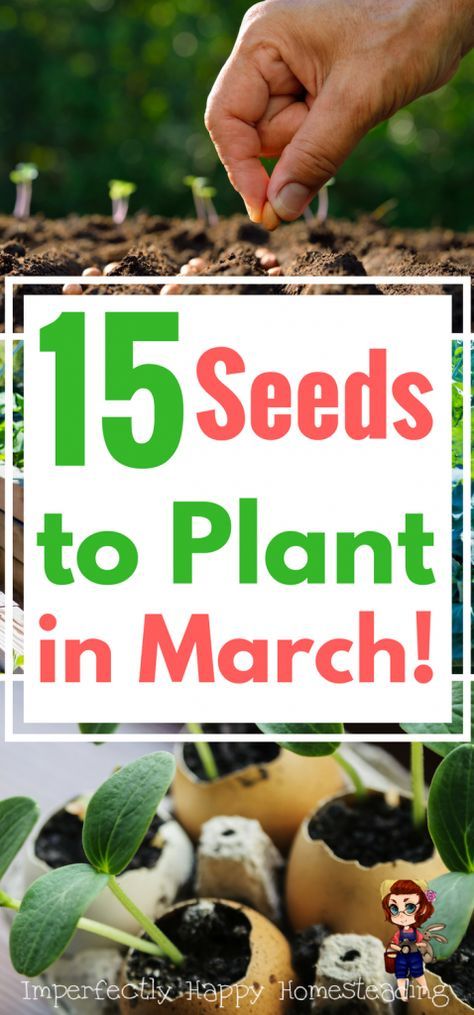
Start by purchasing seeds at your local gardening supply store. They are smaller seeds which make them easier to germinate. A variety of pre-packaged mixes are available. Certain seed mixes are deficient in nutrients or high in sodium. Some seedling mixes may retain too much moisture which can lead to root rot. It is important to choose the right seedling media. Some of these plants are simple to grow while others require special care.
When it comes time to plant, microgreens may grow in a sunny or dark area. They may only last 14 days depending on which variety of seeds they are. If they do go to waste, you can use a dome tray or a watering can to moisten the soil. The compost should be light but not too wet to cause damage to the plants. After harvesting, it is time to remove the seeds.
You can also plant your own microgreens. This is a wonderful hobby and a great way to try different kinds of seeds. They can be used as pesto or smoothie ingredients or for making your own dressings. And it's much easier than you might think. It's easy to do. It's easy to do. All you have to do is to take the time to research labels.
Once the seedlings are sprouted you can harvest them. You should harvest the microgreens within 7-10 days. Place the seeds on a sunny windowsill, a few inches apart. This will ensure the best results. If you live in an area with lots of sunshine, you can put them on a sunny windowsill. Be sure to provide enough water for your plants. If you have a small greenhouse, you can place them in a larger pot or tray to get more yield.
Microgreens can be grown outdoors and are very easy to maintain. But protect them from dry winds and hungry pests. Follow the instructions on the seed packets. Spread the soil evenly and press the seeds into the soil. You can add microgreens to any dish, raw or cooked. End result is that you can plant a mixture of different greens.
FAQ
What is the maximum time I can keep an indoor plant alive for?
Indoor plants can last for many years. However, it's important to repot your plant every few months to help promote new growth. Repotting is easy. All you have to do is remove the soil and put in fresh compost.
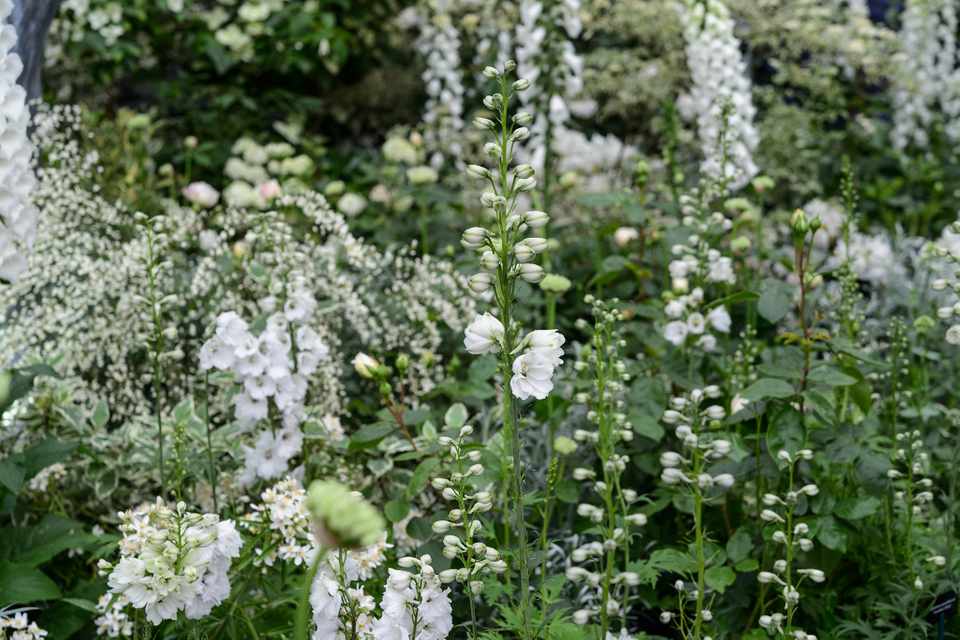
When to plant flowers
Spring is the best season to plant flowers. It is when the temperatures are warmer and the soil is still moist. If you live in a cold area, plant flowers only after the first frost. The ideal temperature for growing plants indoors is around 60 degrees Fahrenheit.
How often do I need to water my indoor plants?
Indoor plants need watering once every two days. The humidity inside your house can be maintained by watering. Humidity is essential for healthy plants.
Which type of lighting is best for indoor plants?
Because they emit less heat, floralescent lights are great for indoor gardening. They provide constant lighting that doesn't flicker or dimm. Both regular and compact fluorescent fluorescent bulbs are available. CFLs are up to 75% cheaper than traditional bulbs.
Can I grow veggies indoors?
Yes, it is possible for vegetables to be grown inside during winter months. You will need to buy a greenhouse and grow lights. Before you do this, make sure to verify the local laws.
How many hours does a plant need to get light?
It depends upon the type of plant. Some plants need 12 hours per day of direct sunlight. Others prefer 8 hours in indirect sunlight. Most vegetables need at least 10 hours of direct sunlight per 24-hour time period.
Statistics
- According to a survey from the National Gardening Association, upward of 18 million novice gardeners have picked up a shovel since 2020. (wsj.com)
- As the price of fruit and vegetables is expected to rise by 8% after Brexit, the idea of growing your own is now better than ever. (countryliving.com)
- According to the National Gardening Association, the average family with a garden spends $70 on their crops—but they grow an estimated $600 worth of veggies! - blog.nationwide.com
- It will likely be ready if a seedling has between 3 and 4 true leaves. (gilmour.com)
External Links
How To
How To Start A Garden
It is much easier than most people believe to start a garden. There are several ways to go about starting a garden.
One option is to buy seeds at your local nursery. This is most likely the easiest method to start a gardening venture.
A community garden plot is another option. Community gardens are often located close to parks and schools. Many plots have raised beds to grow vegetables.
A container garden is a great way to get started in a garden. Container gardening involves purchasing a small pot or planter and filling it with dirt. You will then plant the seedlings.
You also have the option to purchase a ready-made gardening kit. Kits include everything needed to get started. Some kits include tools and supplies.
The best part about planting a garden is that you don't have to follow any rules. You can do anything that works for you. It is important to remember these basics.
Decide what type of garden you want. Are you looking to have a big garden? Or would you rather just have a few herbs in pots?
Next, determine where you will be planting your garden. Are you going to use a container? Or will you plant in the ground?
Once you decide on the type and size of garden you want, it is time to start shopping for materials.
Also, think about how much space you have. You may not have enough space for a large garden if you live in a small apartment.
Now you are ready to start building your garden. The first step in preparing the area.
This means that you must remove all weeds. Next, dig a hole to accommodate each plant. Make sure the holes are deep enough so that the roots won't hit the sides when they grow.
Add topsoil and compost to fill in the gaps. Add organic matter to help retain moisture.
After clearing the site, add plants. Be careful not to overcrowd them. They need space to spread their roots.
Continue to enrich the soil with organic matter as the plants mature. This helps keep the soil healthy and prevents diseases.
You can fertilize plants as soon as you see new growth. Fertilizer encourages strong root systems. It promotes faster, healthier growth.
Continue to water the plants until they are mature. You can then harvest the fruits and have fun!